Taking Great Photos for Engraving
Taking a high quality photo of your paw print, fingerprint, hand or footprints or handwriting will always ensure a high quality engraving.
Follow these steps to get the best shot for your image to be engraved.
- Prints, not photos
We can turn almost any print into an engraving. Photos, however, are not as simple.
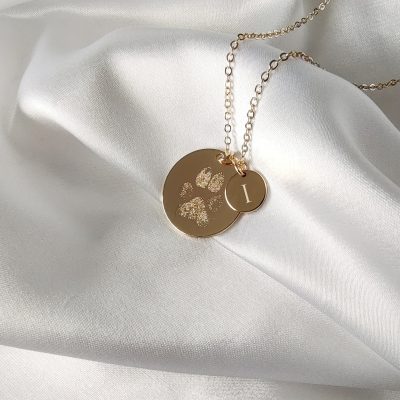
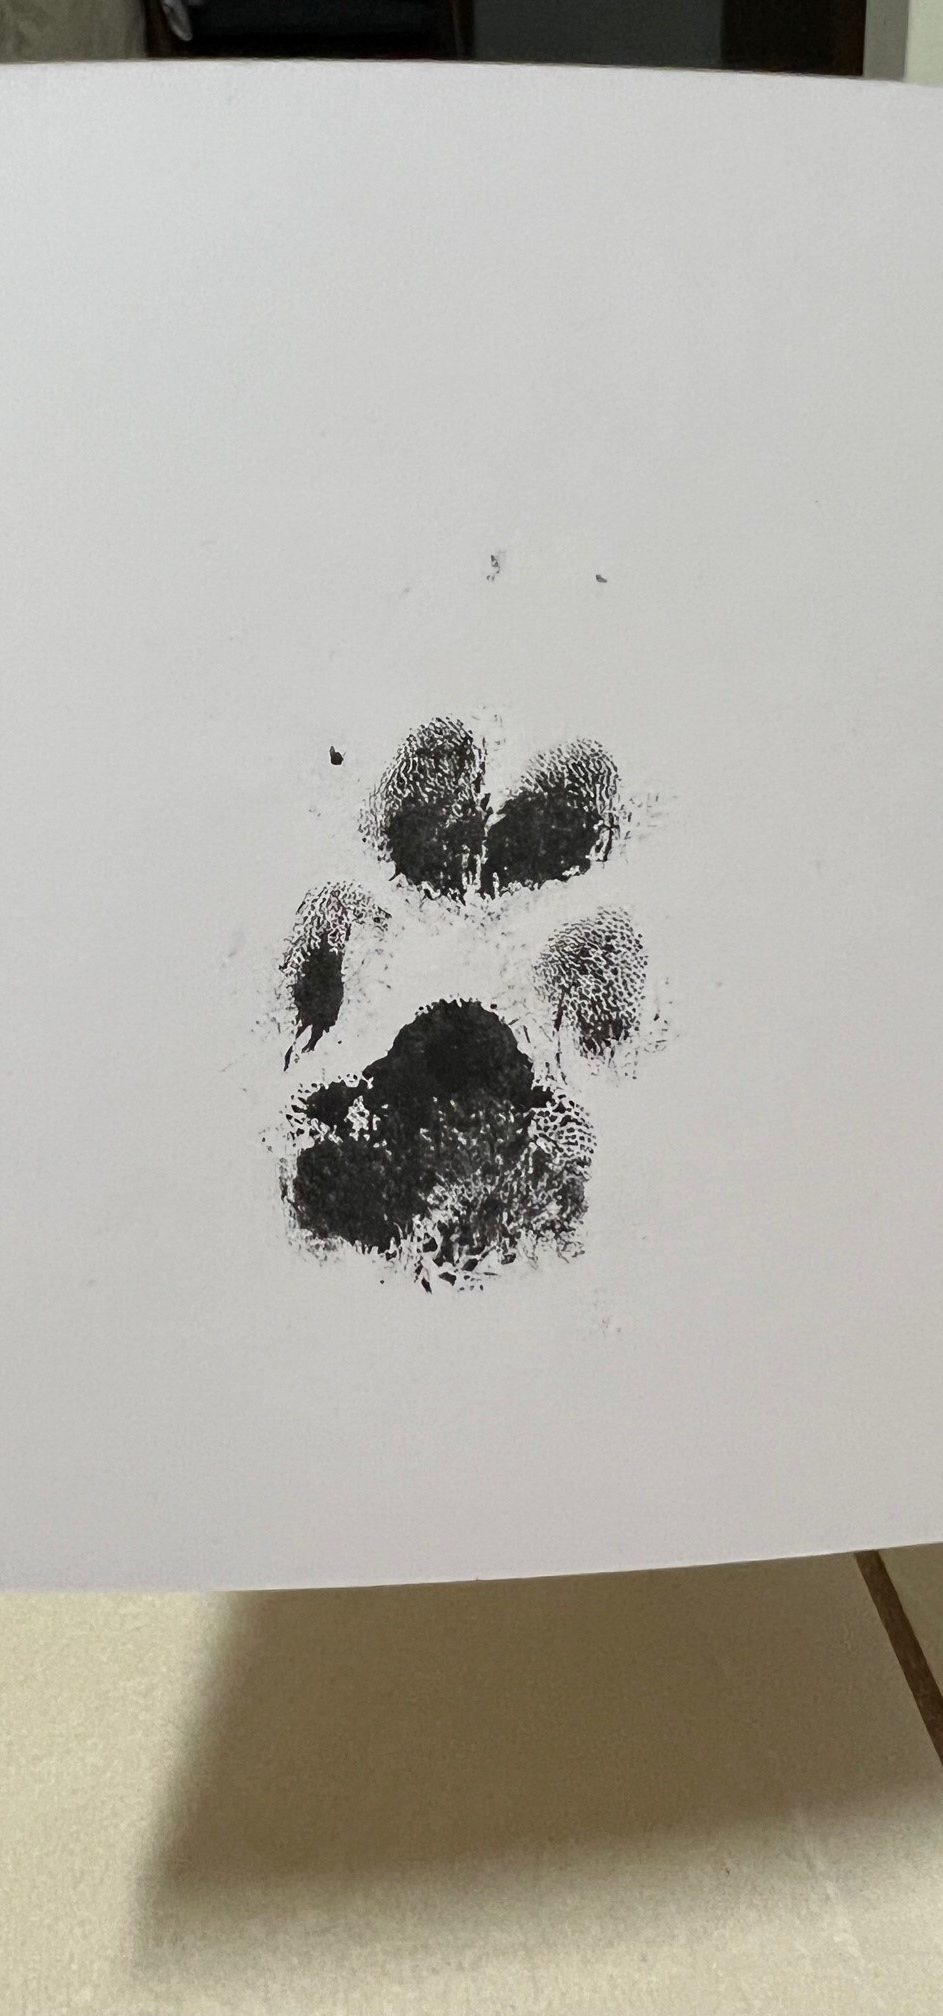
When we refer to pawprints, fingerprints and handprints, these are literal prints that have been obtained from an ink-based product.
Sending a photo of a paw or finger is not a print, it is still a photo of a paw or finger.
We can turn some photos of paws into prints, however these incur a Complex Design Fee, due to the time it takes to turn a photo into an engravable file. Please get in touch prior to ordering to ensure we can work with your images.
We cannot turn photos of fingers into fingerprints. You may purchase a Fingerprint Kit here, alternatively you will receive a complimentary Fingerprint Kit with the purchase of any Fingerprint necklace or bracelet.
Before sending your images through, ensure you are sending a photo of a print.
2. Use Natural Light
Head outside or near a clear window for the best natural light.
Digital cameras (like those in smartphones) are designed to take their best photos in natural light, where the shutter speed and resolution is automatically set to take photos at the most common time of day- day time.
While some phones are definitely capable of taking decent photos at night, if you zoom in and compare the resolution (clarity vs. blurriness) of a photo taken in daylight vs. night you will see the photo taken during the day is a lot sharper.
3. Avoid shadows
Shadows make it harder for photo editing software to differentiate between colours, which can result in important parts of the image being removed when the background is removed for the engraving file. Before sending your photos, double check there are no shadows over the details to be engraved.
Face the sun with the image in front of you so the shadows will be behind you, not over the image.
4. Check for blurriness
Take one photo of each individual print rather than taking a photo of multiple prints.
A steady hand will ensure a crisp, clear photo to ensure the best engraving for your Precious Hearts Piece. Blurry photos are unable to be used, so zoom in to your photos to check whether they are clear- if the zoomed in image is blurry, your engraving will not include all of the lines present.
5. Don’t rely on Auto Focus
Tap the screen over the print to be engraved and your camera will focus on that point, rather than any other point it may autofocus on instead.
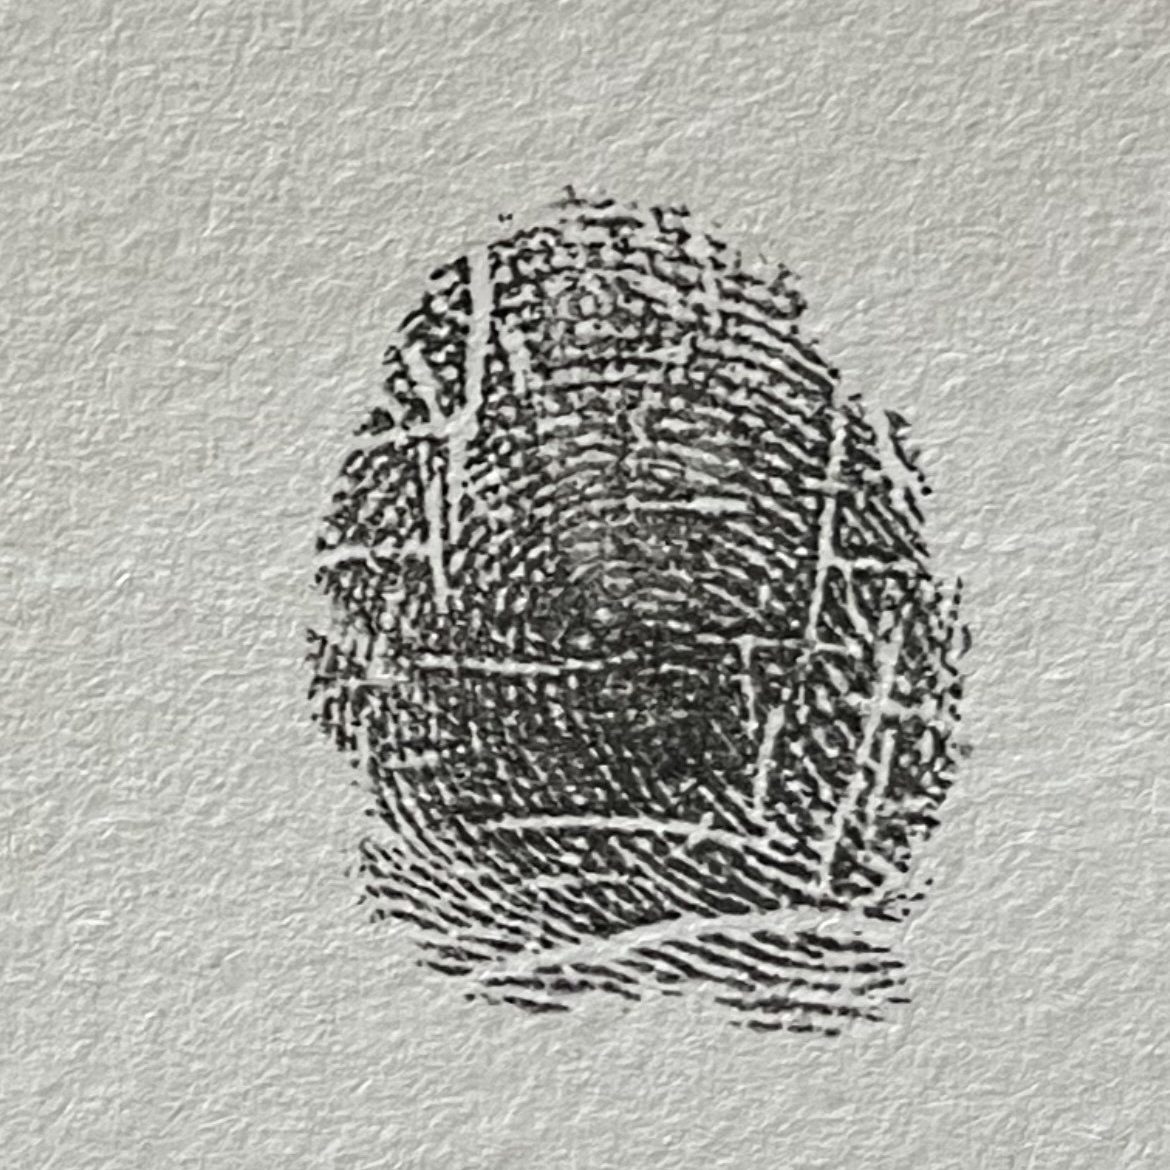
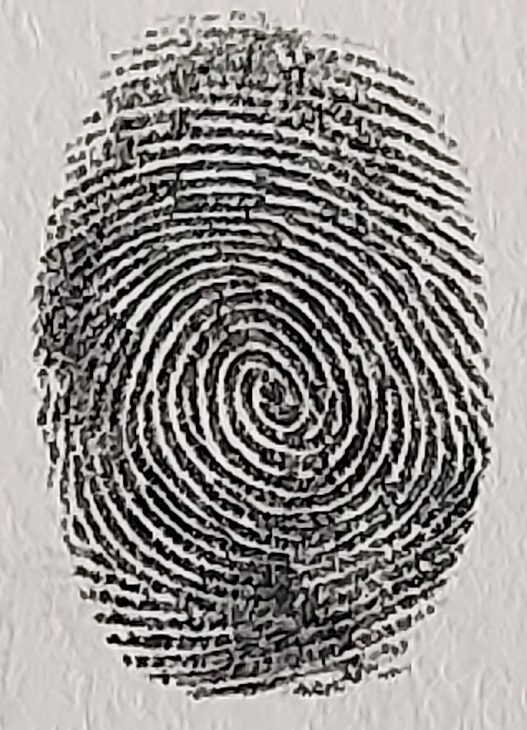
Zoom in to view your photo, if it looks like this you will have a clear engraving
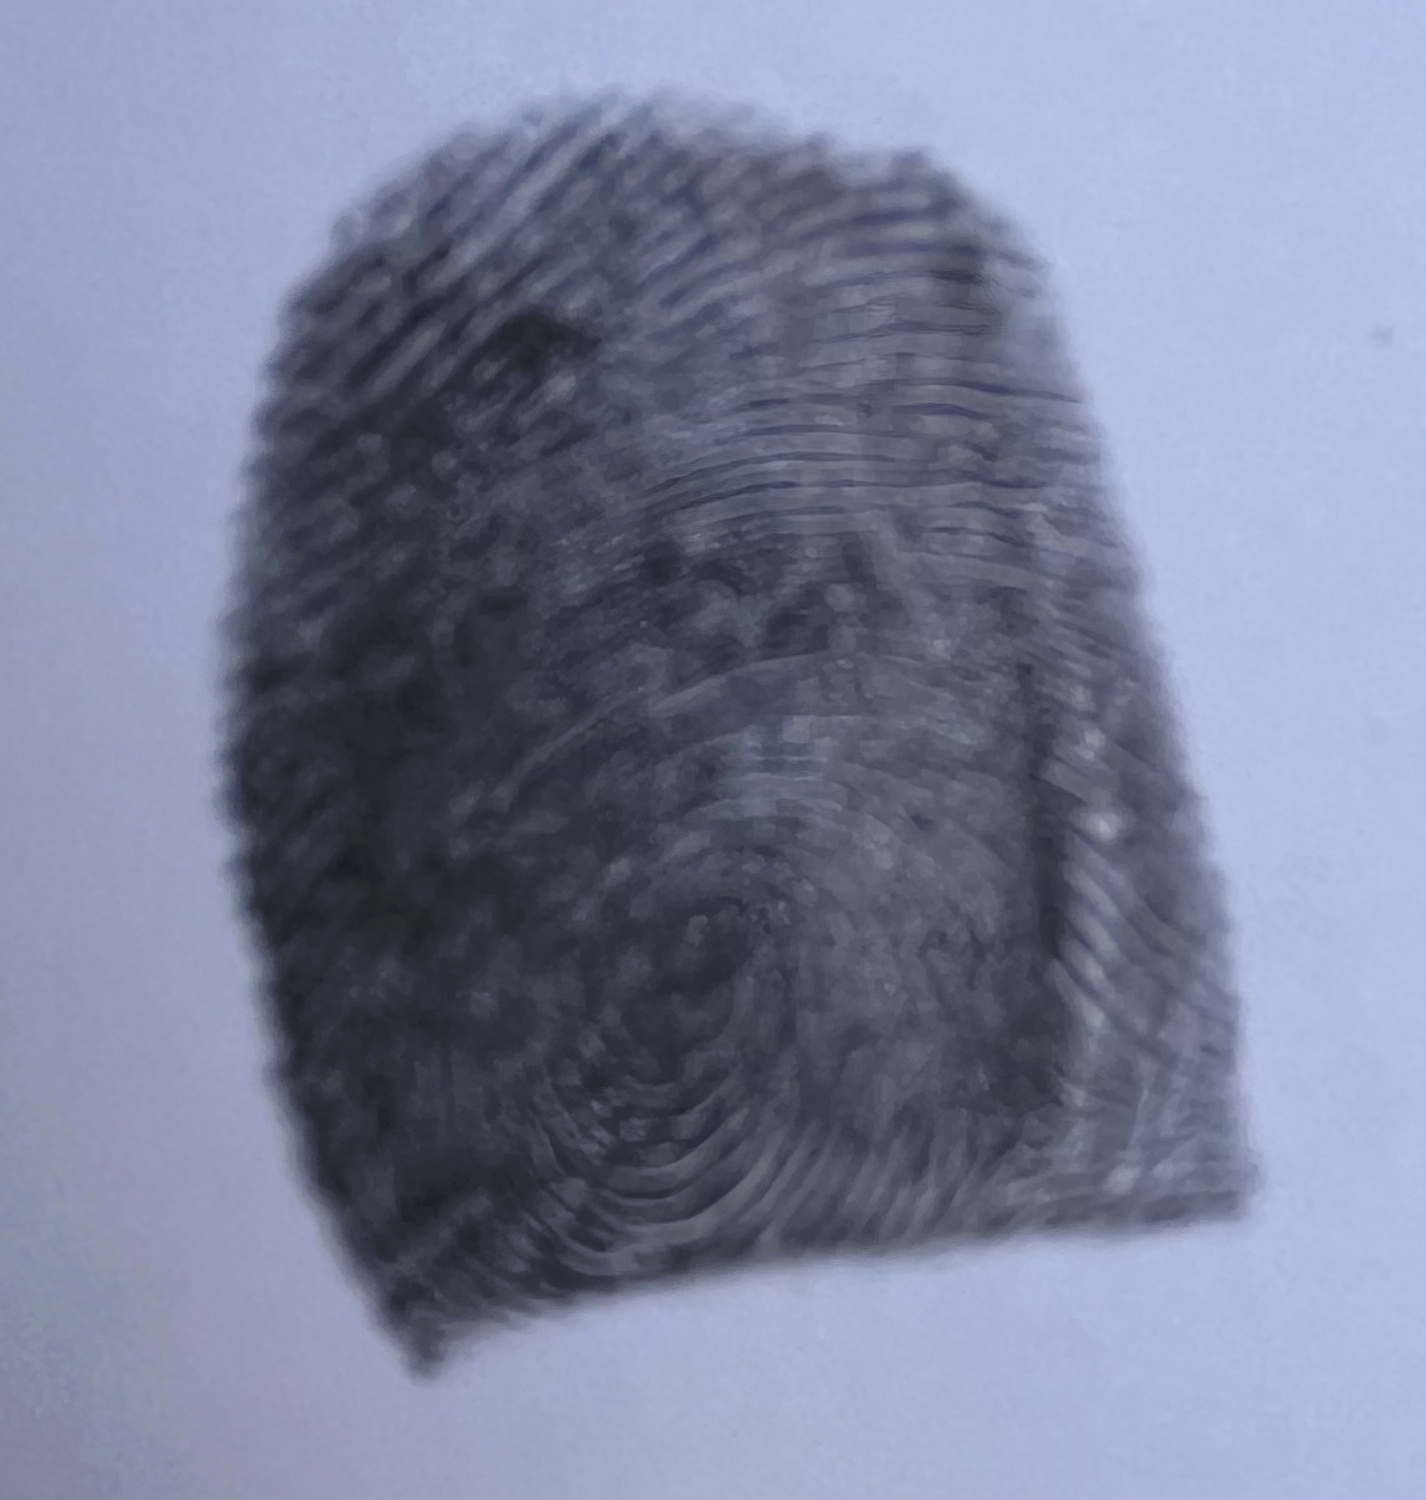
If your photo looks like this, the engraving is going to be undefined
5. Take multiple shots
Send us multiple versions so we can choose the best quality image. It may take a little more effort but you’ll be glad you did!